Poking Around - An Introduction to Redmine
Upon first logging in to Redmine, you’ll be redirected to what Redmine calls “your page”, an overview of information it guesses you’ll be interested in. By default, the left column will show issues assigned to you (stuff you need to do) and the right column issues you’ve reported (stuff you want done). If you’re using Redmine to remind yourself of things to do, you may see the same issue in both columns.
Let’s take a look at my reported issues:
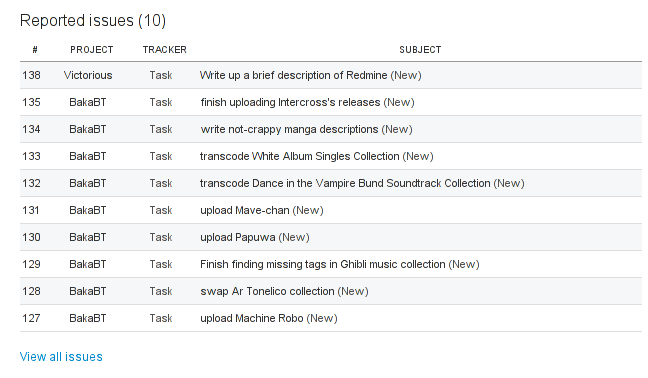
In the first column, we see the id associated with an issue. These are unique integers that start from 1 and increment. Then, we can tell that issue #138 was created after issue #127, and had 137 other issues created before it. Ids are never reused, even when issues are closed.
Redmine allows a division of issues into various projects (and subprojects). Here, you can see that I have an open ticket for Victorious, my Capstone group, to write a Redmine tutorial ;) . I also have a number of things I want done for BakaBT, an anime site.
“Tracker” is Redmine’s name for the type of issue. In this case, I’ve only reported Tasks, but other common trackers are Bug and Feature. Your Redmine administrator can add and remove trackers as they wish, so you may not see any of these options.
Lastly, we have issues’ subjects. Like a good email, the subject of an issue gives a brief description of what lies underneath.
If the defaults of this page don’t meet your liking, you can customize it.
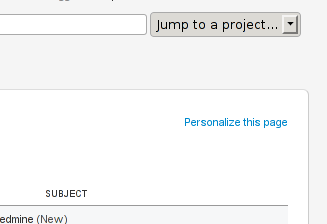
Move blocks by clicking on their headers and dragging them, remove them by clicking on the Xs in their top-right corners, and add new blocks using the dialog in the top-right.
